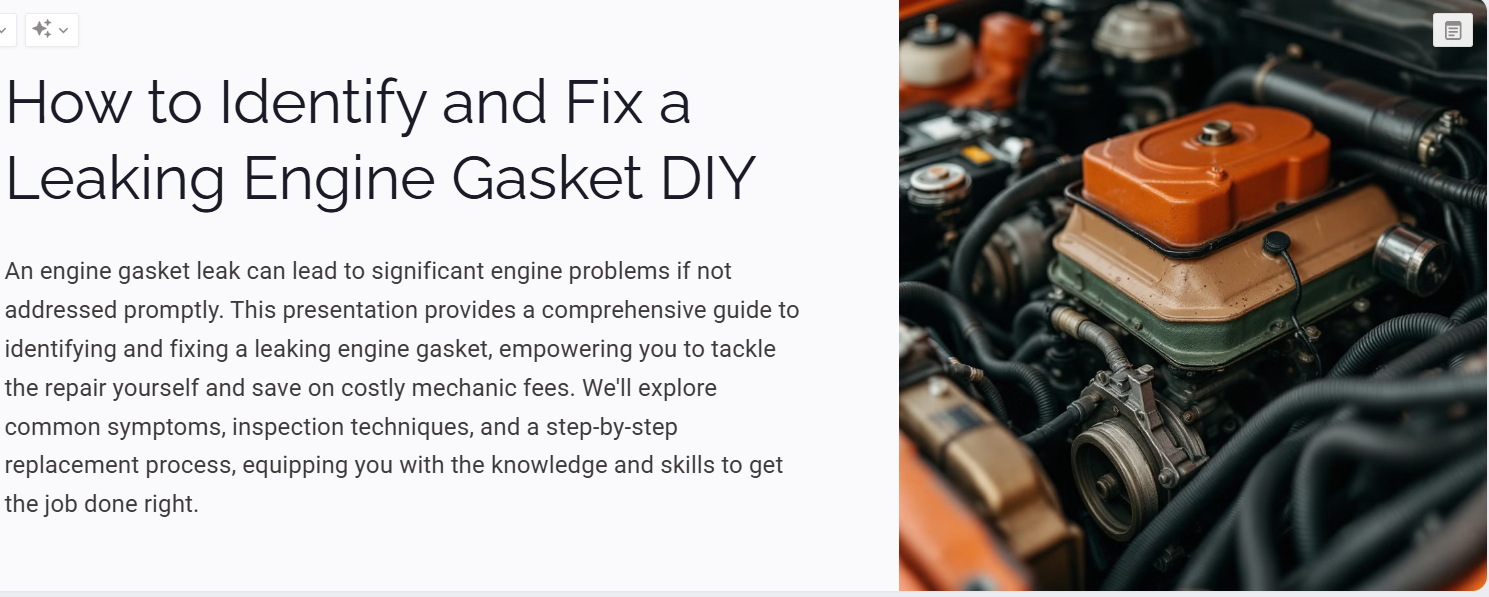
A leaking engine gasket can lead to several issues, including overheating, poor performance, and oil or coolant leaks. While fixing a gasket leak may sound complex, it is possible to diagnose and repair it at home with the right tools and knowledge. This guide will walk you through identifying, testing, and fixing a leaking engine gasket step by step.
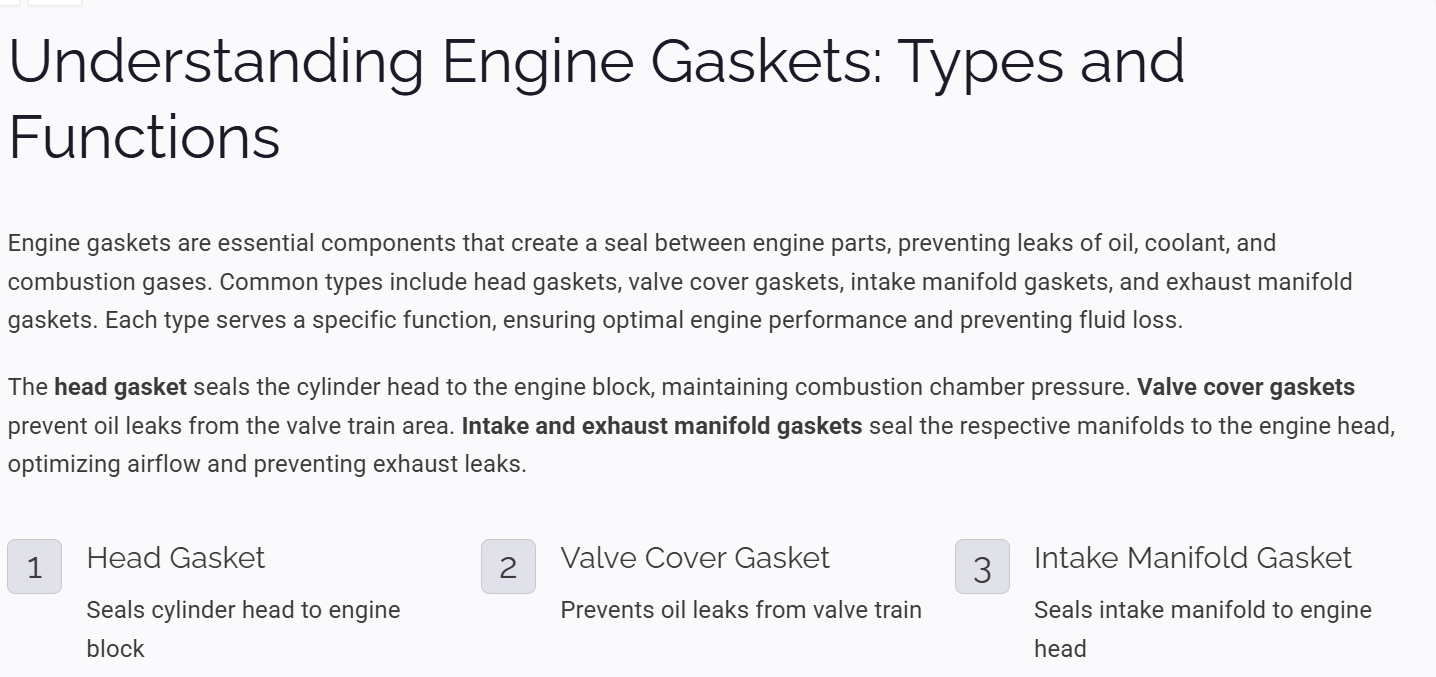
Engine gaskets play a crucial role in sealing different components of your engine, preventing leaks and ensuring efficient operation. Here are the three main types of gaskets:
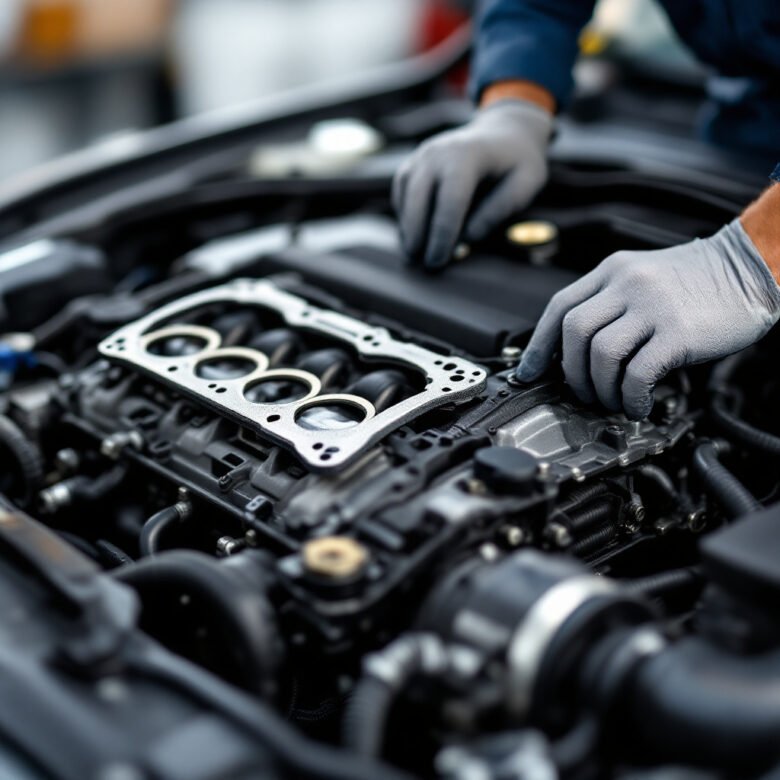
- Head Gasket: Seals the cylinder head to the engine block, preventing oil, coolant, and combustion gases from leaking.
- Valve Cover Gasket: Prevents oil from leaking out of the top of the engine where the valve cover meets the cylinder head.
- Intake Manifold Gasket: Seals the intake manifold to the engine block or cylinder head to ensure proper airflow and coolant circulation.
Understanding which gasket is leaking helps in diagnosing and fixing the issue correctly.
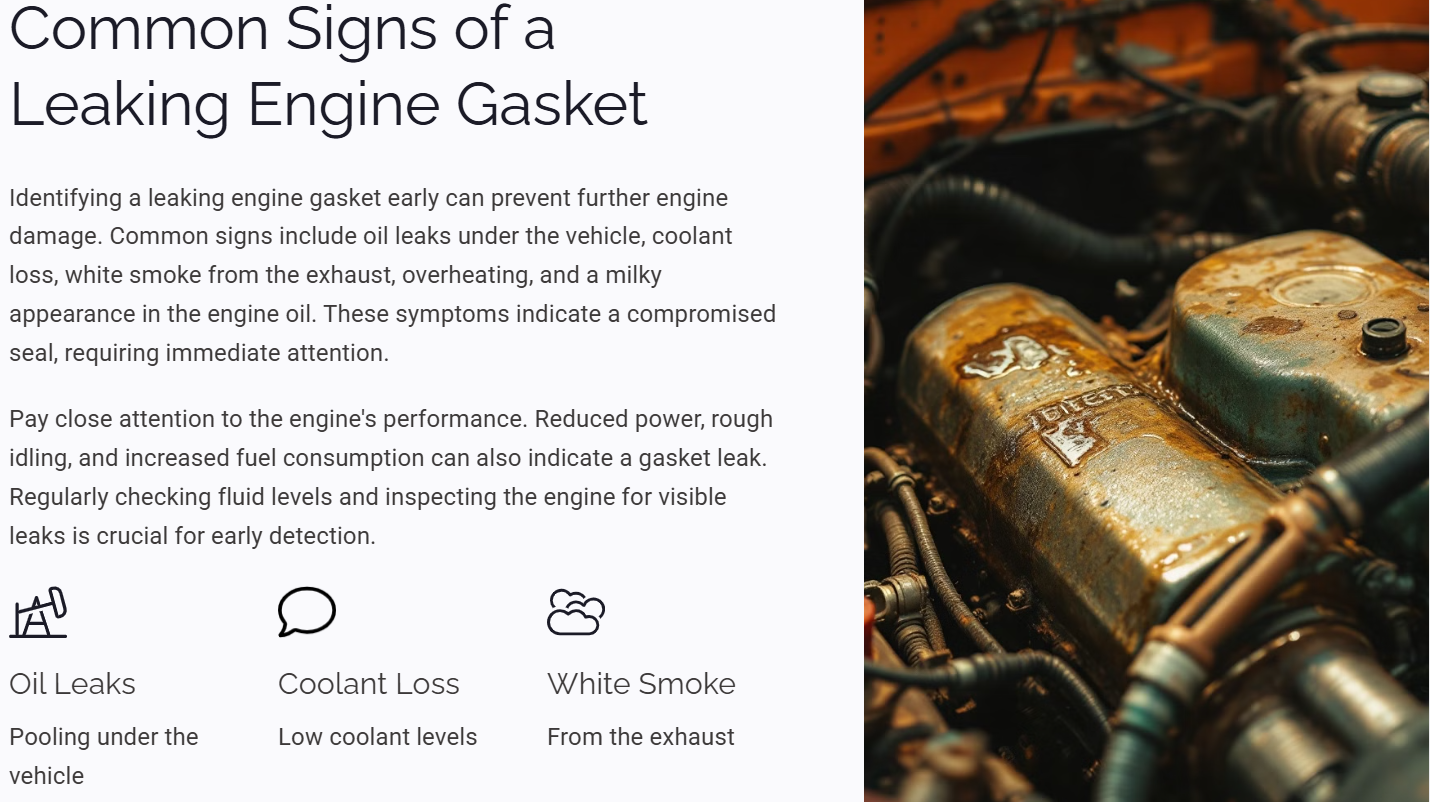
A leaking gasket can manifest in various ways. Here are some signs to watch for:
- Oil Leaks: Puddles of oil under your vehicle could indicate a valve cover or head gasket leak.
- Coolant Loss: Unexplained drops in coolant levels without visible leaks may suggest a leaking head gasket.
- White Smoke from Exhaust: A head gasket leak can allow coolant to enter the combustion chamber, producing white smoke.
- Engine Overheating: If your engine runs hotter than usual, it might be due to a head gasket failing to contain coolant properly.
If you notice any of these signs, it’s essential to inspect your engine further.
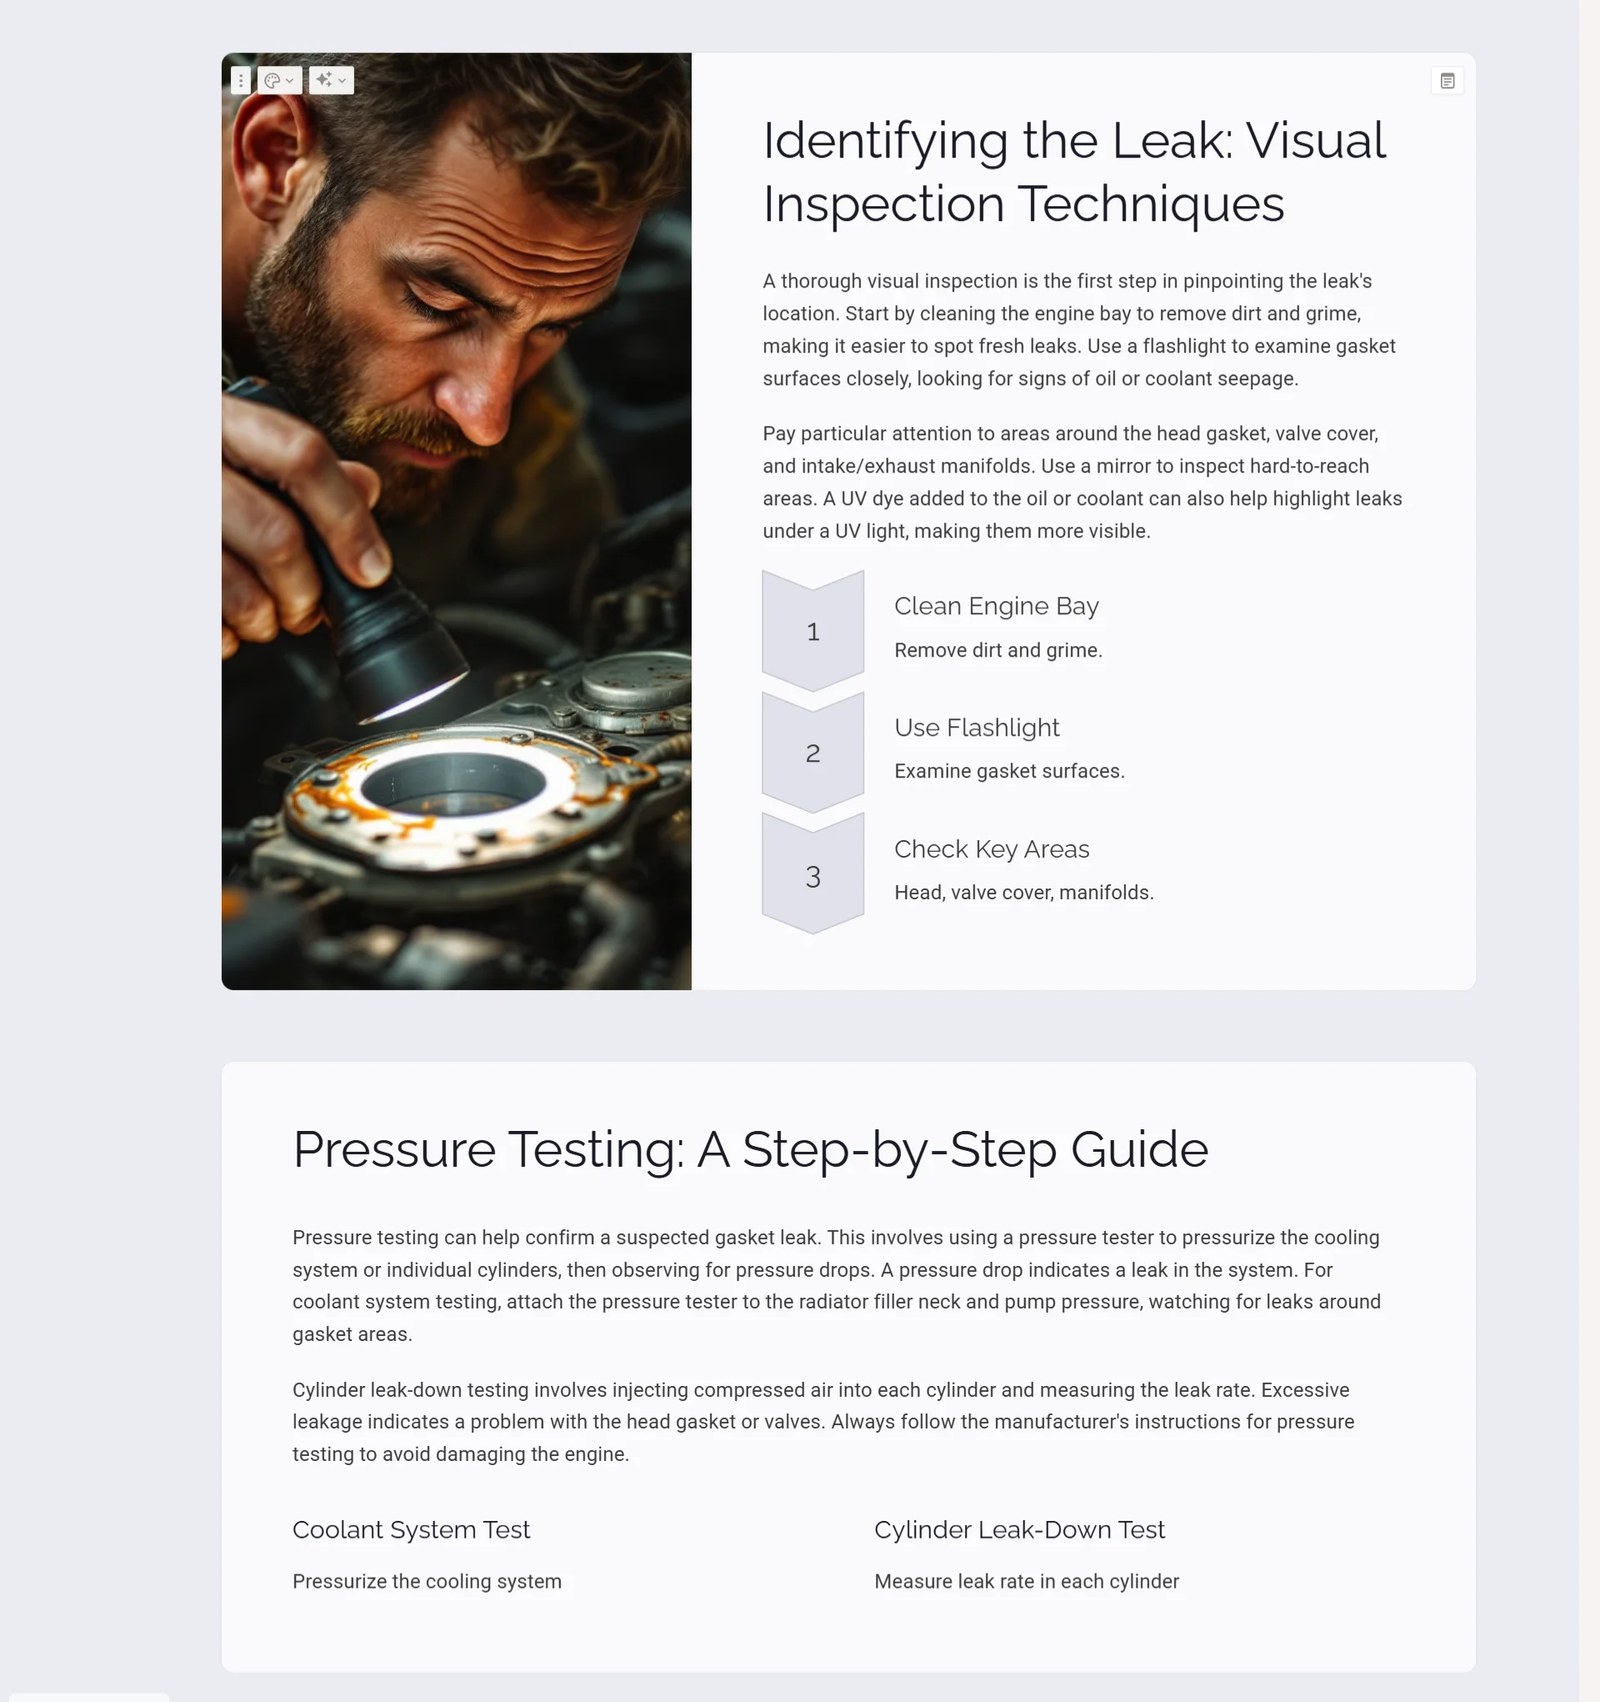
Identifying the Leak: Visual Inspection Techniques
Once you suspect a gasket leak, follow these steps to pinpoint the problem:
- Check for Visible Signs: Look around the engine bay for oil or coolant leaks, especially near gasket joints.
- Use a Flashlight: Shine a flashlight around the engine to spot any small leaks or cracks.
- Check Under the Vehicle: Inspect the ground where you park for any fluid stains.
For a more thorough diagnosis, you may need to conduct pressure tests.
Pressure Testing: A Step-by-Step Guide
A pressure test helps confirm if your engine gasket is leaking. There are two primary tests:
- Coolant System Test: A cooling system pressure tester is attached to the radiator to check for pressure loss, indicating a leak.
- Cylinder Leak-Down Test: Compressed air is applied to each cylinder to detect leaks into the cooling system or oil passages.
These tests require basic tools but provide a definitive way to confirm gasket failure.
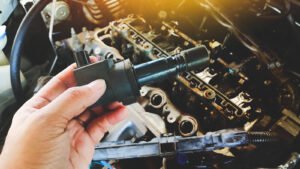
Gathering Your Tools and Materials
Before starting the repair, ensure you have the following tools and materials:
- Gasket replacement kit (specific to your engine type)
- Socket wrench set (for removing bolts)
- Torque wrench (for correct reassembly)
- Coolant and engine oil (to refill after repair)
- Scraper and cleaning supplies (for removing old gasket material)
Having the right tools will make the job smoother and prevent mistakes.
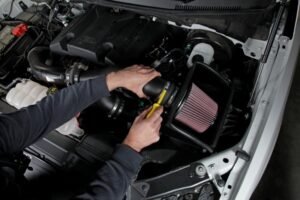
DIY Repair: Step-by-Step Replacement Process
Once you’ve confirmed a gasket leak, follow these steps for replacement:
- Remove Necessary Components: Detach the parts blocking access to the leaking gasket, such as the intake manifold or valve cover.
- Clean the Surface: Use a scraper to remove the old gasket and clean the area thoroughly.
- Install the New Gasket: Position the new gasket correctly and secure it with bolts tightened to the manufacturer’s torque specifications.
- Reassemble and Test: Put everything back together, refill fluids, and start the engine to check for leaks.
Replacing a gasket requires patience, but following these steps ensures a successful repair.
Tips for a Successful Gasket Replacement
To achieve a long-lasting repair, keep these tips in mind:
- Torque Bolts Properly: Over-tightening or under-tightening can cause leaks.
- Use a Gasket Sealant (if recommended): Some gaskets require sealant for better performance.
- Double-Check Connections: Ensure all hoses and components are securely reattached before starting the engine.
These best practices help avoid repeat issues after replacement.
Preventing Future Leaks: Maintenance Best Practices
To extend the life of your engine gaskets and prevent future leaks, follow these maintenance tips:
- Check Fluid Levels Regularly: Ensure oil and coolant levels are within the recommended range.
- Monitor Engine Temperature: Avoid overheating, which can damage gaskets.
- Use Quality Fluids: Cheap or incorrect oil and coolant can lead to premature gasket wear.
Regular maintenance reduces the risk of future gasket failures and keeps your engine in good condition.
Q&A and Resources for Further Assistance
If you need additional guidance, consider these resources:
- Online tutorials and videos (for step-by-step visuals)
- Automotive forums (for troubleshooting advice from experienced DIYers)
- Vehicle repair manuals (for detailed instructions specific to your car model)
With the right knowledge and tools, fixing a leaking engine gasket is achievable, even for a non-technical person. By following this guide, you can confidently diagnose and repair gasket leaks, saving time and money in the process.