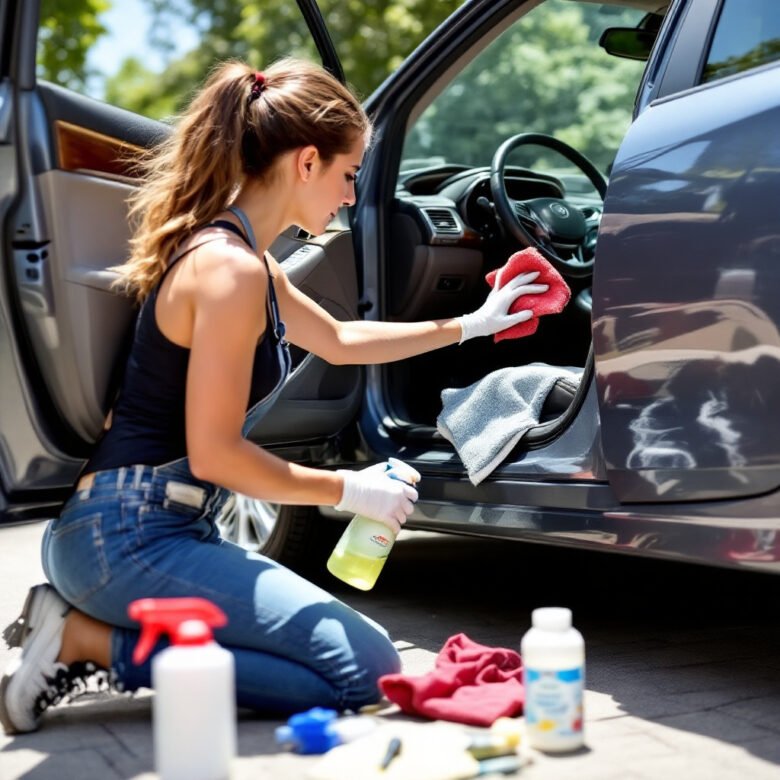
A clean car interior not only looks great but also enhances your driving experience. Professional detailing can be expensive, but with the right tools and techniques, you can achieve the same results at home. This step-by-step guide will help you detail your car’s interior like a pro, ensuring every surface is thoroughly cleaned and maintained.
Tools and Supplies Needed
Before getting started, gather the following tools and cleaning products to make the process easier and more efficient.
Cleaning Tools:
- Vacuum cleaner (with attachments) – Essential for removing dust, dirt, and debris from carpets, seats, and hard-to-reach areas.
- Microfiber towels – Ideal for wiping surfaces without leaving streaks or lint.
- Soft-bristle detailing brushes – Helps clean air vents, buttons, and tight spaces without scratching surfaces.
- Toothbrush or small scrub brush – Useful for scrubbing stubborn stains on upholstery and floor mats.
- Steam cleaner (optional but effective) – A great tool for deep cleaning carpets and disinfecting surfaces naturally.
- Compressed air canister – Helps remove dust and debris from vents and crevices.
- Cotton swabs – Perfect for cleaning tiny gaps and detailed areas.
Cleaning Products:
- All-purpose cleaner – Works for dashboards, door panels, and plastic surfaces.
- Glass cleaner – Ensures streak-free windows and mirrors.
- Upholstery and carpet cleaner – Specifically designed for fabric seats and carpets.
- Leather cleaner and conditioner – Necessary if your car has leather seats to keep them soft and prevent cracking.
- Interior protectant – Helps prevent fading and cracking of plastic and vinyl surfaces.
- Disinfecting wipes or spray – Kills bacteria and eliminates germs from frequently touched surfaces.
- Fabric refresher – Removes lingering odors from upholstery and carpets.
- Odor eliminator (e.g., activated charcoal or baking soda) – Absorbs bad smells and keeps the car smelling fresh.
Step 1: Remove Trash and Loose Items
Before cleaning, remove all trash, personal belongings, and loose items from the car. Check under seats, inside glove compartments, cup holders, and side door pockets for wrappers, receipts, or other debris. Place any important items in a separate container to avoid misplacing them.
Step 2: Vacuum the Interior Thoroughly
A good vacuuming is crucial for eliminating dust, dirt, and crumbs from your car’s interior. Follow these steps:
- Use a vacuum cleaner with a crevice tool to reach between seat cushions, under seats, and in tight spaces.
- Remove the floor mats and vacuum them separately.
- Use a brush attachment to loosen stubborn dirt in carpets and fabric seats.
- Pay special attention to areas around the pedals, where dirt tends to accumulate.
Pro Tip: If you have pet hair in the car, use a rubber squeegee or a balloon to gather hair into clumps before vacuuming.
Step 3: Clean the Dashboard and Console
The dashboard and center console are the most visible parts of your car’s interior and can accumulate dust and grime quickly.
- Use a microfiber cloth and all-purpose cleaner to wipe down the dashboard, center console, and steering wheel.
- Use a soft detailing brush to clean vents, buttons, and tight spaces where dust accumulates.
- Apply an interior protectant to plastic and vinyl surfaces to prevent cracking and fading from sun exposure.
- If your car has an infotainment screen, use a screen-safe cleaner to remove fingerprints and smudges.
Bonus Tip: Avoid using greasy or overly shiny protectants, as they can create glare while driving.
Step 4: Clean Cup Holders and Small Compartments
Cup holders and storage compartments often collect dirt, crumbs, and sticky residues. Follow these steps:
- Remove any cup holder inserts and wash them with soapy water.
- Use a cotton swab or small brush to scrub away sticky residue.
- Dry completely before placing them back in the car.
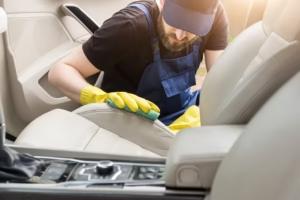
Step 5: Deep Clean the Seats
Your seats take a lot of wear and tear. Proper cleaning depends on the type of material.
Fabric Seats:
- Spray upholstery cleaner evenly over the seat.
- Use a scrub brush to work the cleaner into the fabric.
- Wipe with a clean microfiber cloth to lift dirt.
- Let the seats air dry completely before using the car.
Leather Seats:
- Wipe down with a damp microfiber cloth.
- Apply leather cleaner and gently scrub any stains.
- Wipe off excess cleaner and allow to dry.
- Condition the leather to maintain softness and prevent cracking.
Step 6: Clean Carpets and Floor Mats
- Remove the floor mats and shake off loose dirt.
- Vacuum thoroughly to remove dust and debris.
- Use carpet cleaner and a brush to remove stains.
- Let the mats dry completely before reinstalling.
Step 7: Clean Windows and Mirrors
Crystal-clear windows and mirrors improve visibility and enhance the overall look of your interior.
- Spray glass cleaner onto a microfiber cloth (not directly onto glass).
- Wipe in a circular motion to remove smudges and streaks.
- Use a separate dry microfiber cloth to buff for a streak-free finish.
Step 8: Clean and Refresh Air Vents
Dusty air vents can circulate allergens and unpleasant odors. Clean them by:
- Using a detailing brush or compressed air to remove dust.
- Spraying a disinfectant into the vents to kill bacteria and freshen the air.
Step 9: Remove Odors and Refresh the Interior
A fresh-smelling car makes the driving experience more enjoyable. Consider these methods:
- Sprinkle baking soda on the carpets, let it sit for 15 minutes, then vacuum.
- Place an activated charcoal bag under the seats to absorb odors.
- Use an air freshener, but avoid overpowering scents that can be irritating.
Final Touches: Organize and Maintain
- Return all personal items to their proper places.
- Keep disinfecting wipes in the car for quick cleanups.
- Regularly vacuum and wipe down surfaces to prevent buildup.
By following these detailed steps, you can maintain a spotless car interior that looks and smells like new. Regular cleaning will make future detailing easier and keep your vehicle in top condition!